
BUYING a fully built computer? So 2019.
With lockdowns and a fast changing work culture that kept many at home this past year, many people realised it was actually possible…
…to quickly and easily assemble a glorious, sleek, powerhouse desktop for MUCH LESS than what you’d pay at a store!

The best part?
When you put together your own computer, troubleshooting can all be done on your own – meaning you’re not hostage to computer repair shops that charge you absurd prices for marked up parts, service and labour fees.
AND this system would actually outlast most commercial desktops and laptops, by 3 or even 5 years!
This isn’t just for aspiring pro-gamers or people working in design or video,
If you’re someone who needs a computer for work, studies, or just leisurely use (you probably are), then read on!
In this article, we won’t go through the specifics of assembling the components – this is a relatively straightforward process that can be easily learned on YouTube,
Instead, what we WILL be covering is something not commonly discussed – How to pick and source for your own parts to make sure you get the most bang for your buck!
And at the end, we’ll reveal a sample build for you as an example – just to show how affordable it really is!
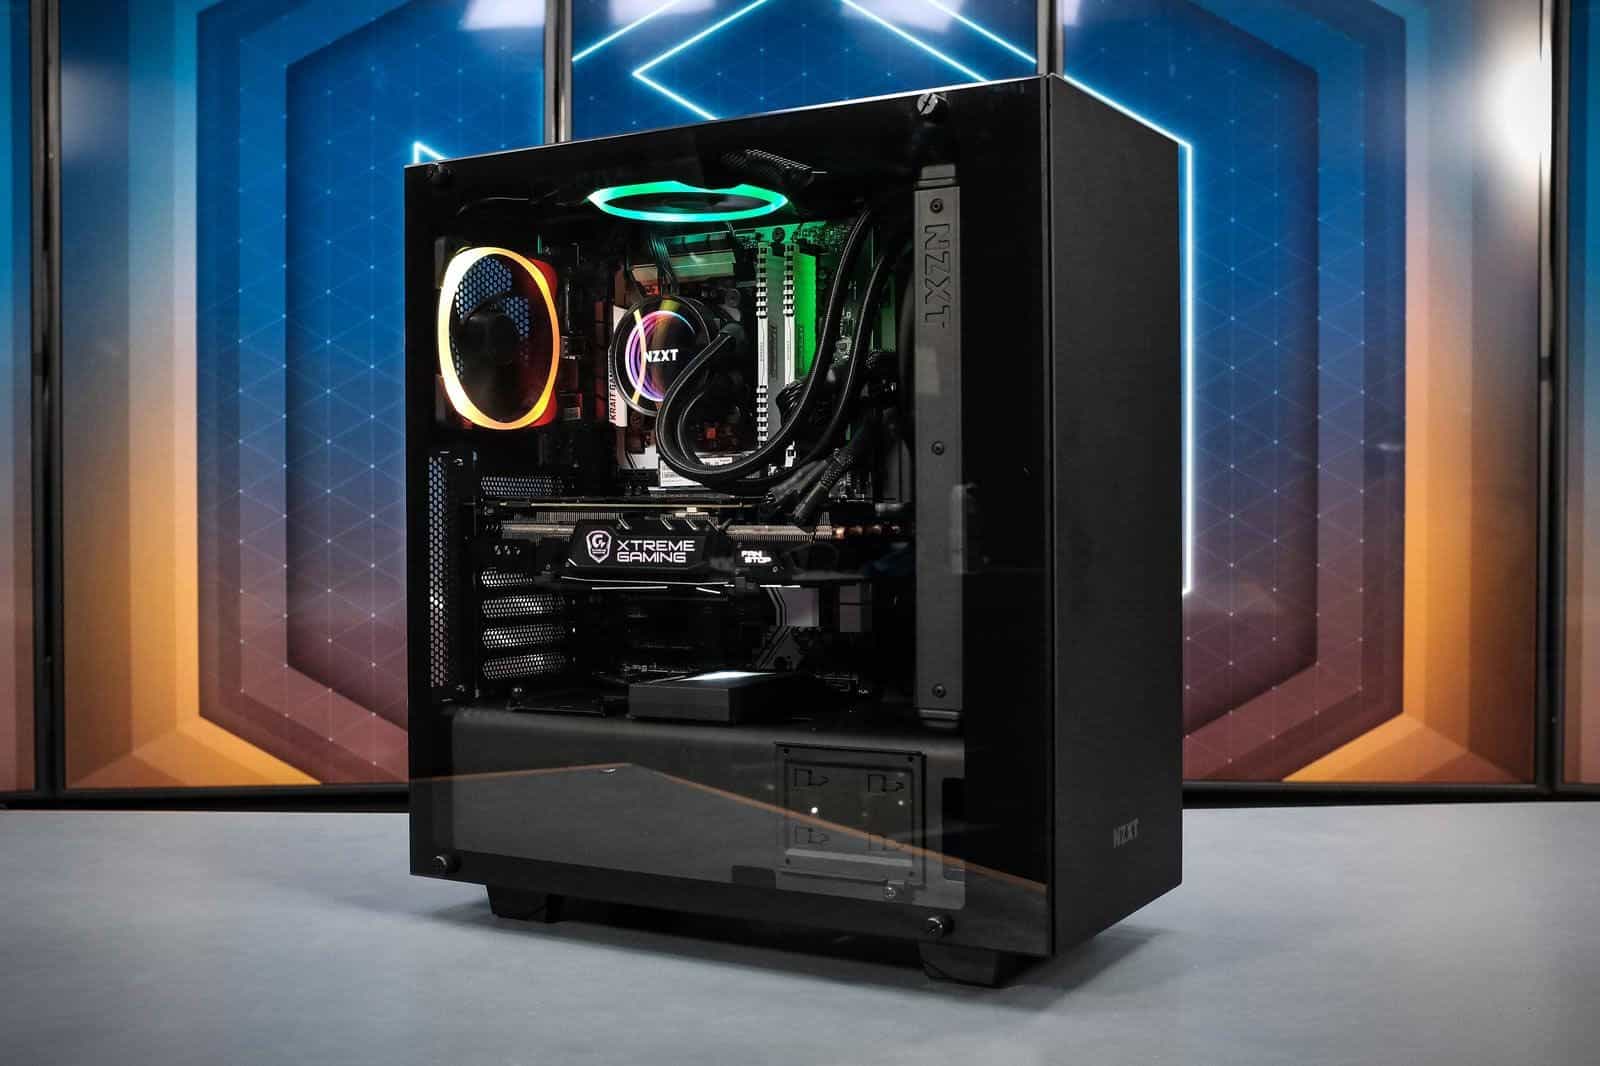
Step 1. Picking a Case & Power Supply Unit
When it comes to picking a case, the thought process is simple, the more powerful you want your computer you want to be, the bigger kind of case you’ll be getting due to the kind of parts you’ll need in future.
These cases are called Full Towers or Mid Tower cases.

If space is a big constraint for you or you don’t require that much space, consider a Mini Tower or Small Form Factor case.
Don’t worry too much about how many USB ports a case comes with or what kind of dimensions to look at – most modern cases are roughly built the same with differences that usually matter to more serious PC Builders
Now that you have everything to hold your parts in, let’s take a look at a Power Supply Unit, this is where all your parts are going to be plugged into.
This is the one part people should not be scrimping on, simply because you don’t want to risk frying your PC parts with poor quality power conductors.
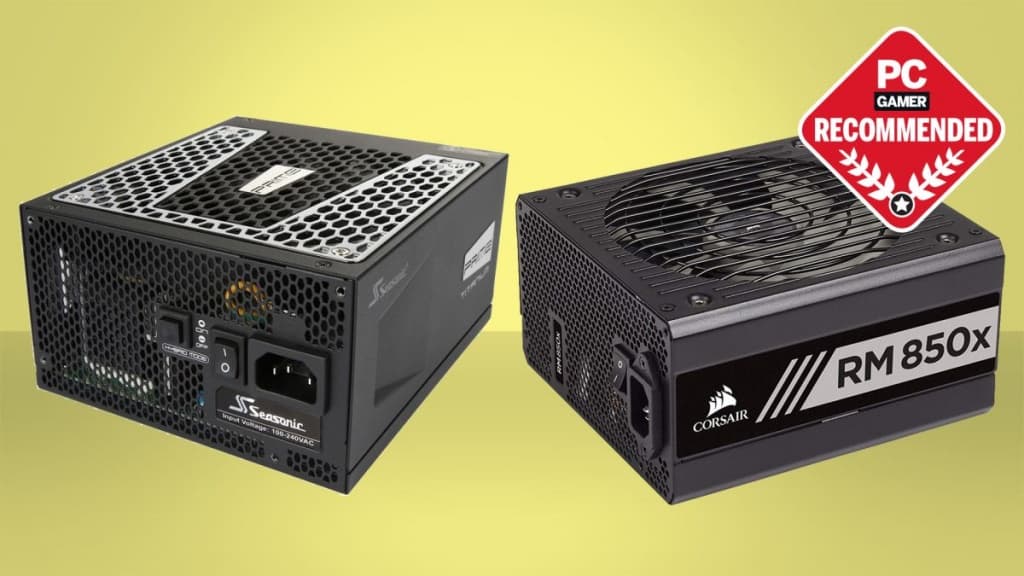
Most people can get by on a unit that supplies from 600-650 Watts, but what matters most here is power efficiency.
PSUs rated 80+ Silver are 88% power efficient, 80+ Gold is 90% power efficient and it goes up from there – pick one from major manufacturers such as Seasonic, Super Flower, and Corsair and you’re good to go!
Step 2. Picking A Motherboard and Central Processing Unit (CPU)
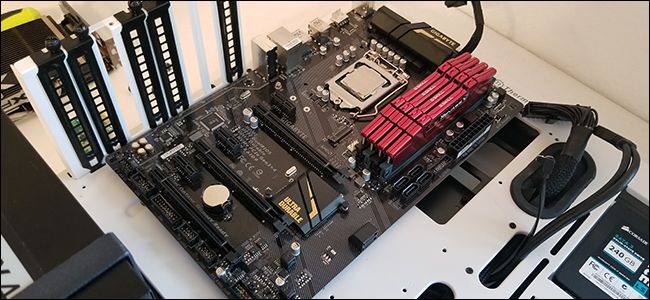
The CPU and Motherboard are basically the brains and body of your computer, where everything else is connected to. The more powerful your CPU, the faster you can expect your PC to run.
Picking these parts can be a little tricky, the major CPU’s people use are from either AMD or Intel and you have to pick a motherboard that is built for that type of CPU.
In this situation, it’s typically better to pick your CPU first – but how do you read all those numbers that come with them?
Intel and AMD share a similar model-naming scheme. Intel designs “Core” while AMD produces Ryzen and they both use 3, 5, 7, and 9 to differentiate the CPUs.

Out of the same 20 days, if I bought a meal at $3.50 and getting a bottled or cartoned drink to last me 1 week,
Typically, the higher the number, the more powerful a processor usually is. For example, a Ryzen 3 processor won’t outperform a Ryzen 7.
“What about dual, quad cores etc?” Simply put, multiple cores allow PCs to run multiple processes simultaneously with greater ease, increasing performance when multitasking or under the demands of powerful apps and programs.
Be sure to do your research – both AMD and Intel have their pros and cons to using them. However, once you’ve picked one, getting your Motherboard is a breeze.
Simply find one that matches the CPU you chose, looks good, and of course – can fit inside your case.
Just remember – the bigger the motherboard, the more options you’ll have to increase your RAM, Storage, Space etc which we’ll be covering in the next section.
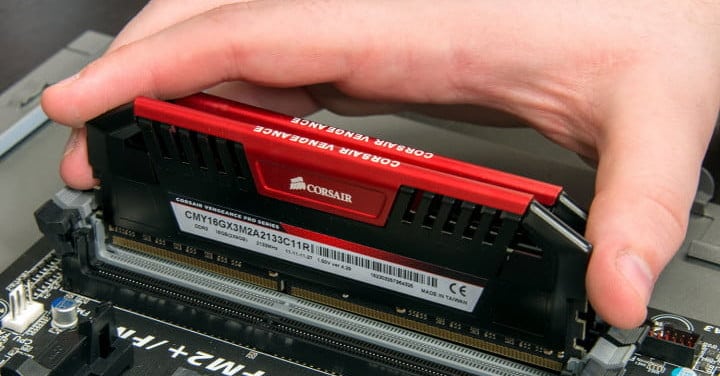
Step 3. Random Access Memory (RAM)
& Solid State Drive (SSD)
Solid State Drive (SSD)
People tend to confuse what “memory” is a lot so we’ll keep it simple here.
Solid State Drives can store files of sizes up to 250GB, 500GB, 1TB etc. These are physical storage devices that contain your pictures, apps, documents etc.
External hard drives work similarly but are connected to – not installed on the motherboard making it slower to retrieve and transfer information from these devices compared to SSDs.
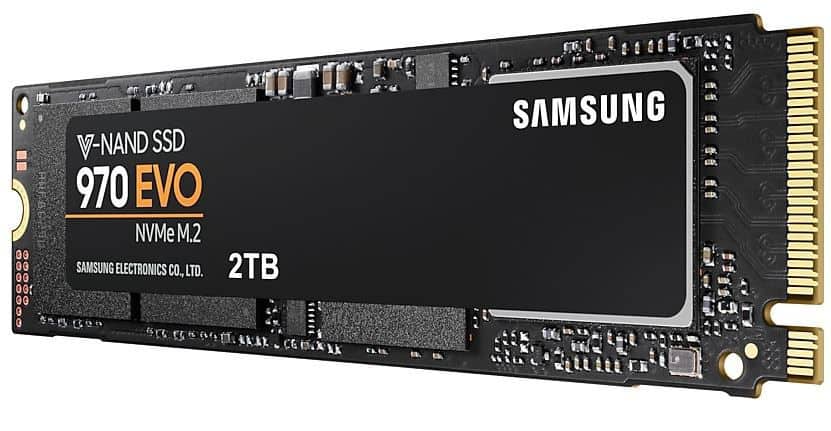
RAM is also called memory – but is a device’s short-term memory – the more RAM you have, the easier it is for a CPU to retrieve information and run your PC faster.
The most common RAM is DDR4 which is compatible with all modern CPUs, so this is what we’ll be looking for.
Most RAM is also sold in sets of 8GB, so you can buy 8, 16, 32 GB of RAM etc – but only as many slots as your Motherboard allows!
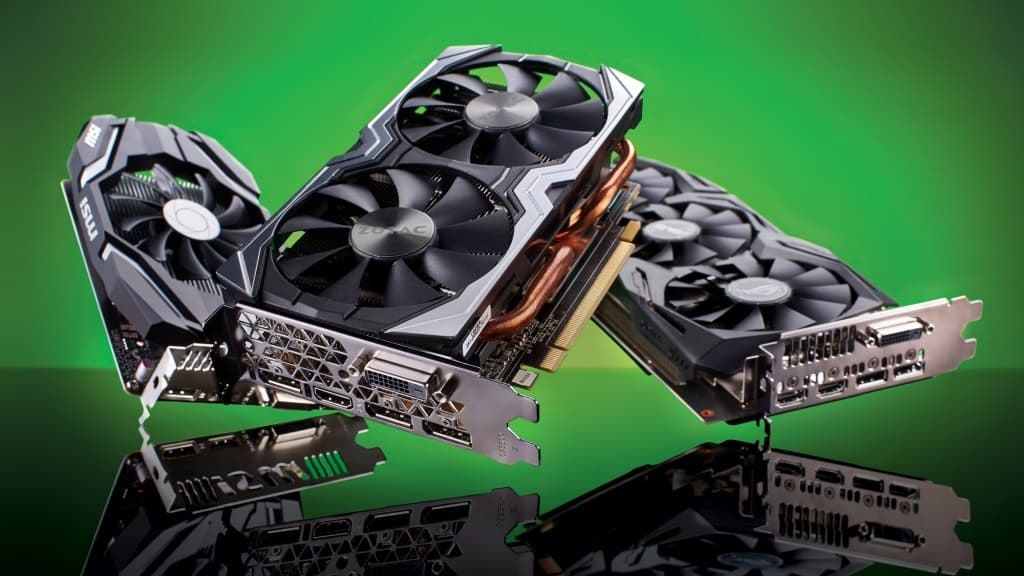
Step 4. Graphics Processing Unit (GPU)
Your GPU or Graphics Card is what translates all the information into readable information on your monitor.
We’re assuming you’re not someone dying to play Cyberpunk 2077 on a 4k resolution screen – so you can go ahead and pick a cheap GPU that offers good graphics at screen resolutions of 1080.
Common manufacturers include Gigabyte, EVGA, Nvidia, Zotac, and AMD.
Step 5. Peripherals – Monitor, Mouse, Keyboard
This section is probably the easiest to go through – since you most likely have these parts lying around your house already.
But if you’re buying new peripherals, consider getting wired mice & keyboards.

Wireless ones tend to cost a little bit more, especially since they constantly are consuming batteries so to save a little more in the long run – go wired.
Picking a monitor isn’t super hard either – most are designed to display great colours and brightness at 1080 resolutions.
BUT if you already picked a high graphics card and you’re looking to watch & play games in 1440P or 4K, you’ll need a Ultra High Definition (UHD) Monitor to match which will quickly burn a hole in your wallet.
Based on a what we covered, here’s a simple sample build to give you an idea of what a baseline PC would cost you if you built it yourself:
| Case: beQuiet! Mid Tower Case | $90 |
| PSU: Montac Gamma 80+ Gold 650W | $96 |
| CPU: AMD Ryzen 3 1200 with Cooler | $166 |
| Motherboard: GIGABYTE B450M | $87 |
| RAM: Kingston Hyper FuryX 8GBBok Choy | $42 |
| SSD: Kingston A200 500GB | $98 |
| GPU: Gigabyte 1050TI | $70.20 |
| Total: | $650 |
(Prices at time of writing do not reflect current prices)
With most commercial desktops running close to $900 or $1200, you could easily save $300-$500 by building it yourself!
And because these parts are straight from a distributor, claiming warranties and replacing parts in the event of failure can be done all on your own!
Sourcing for parts is easy, simply do your research and start comparing prices on marketplaces such as Shopee, Qoo10, Lazada, and Newegg!
Happy PC building!


